
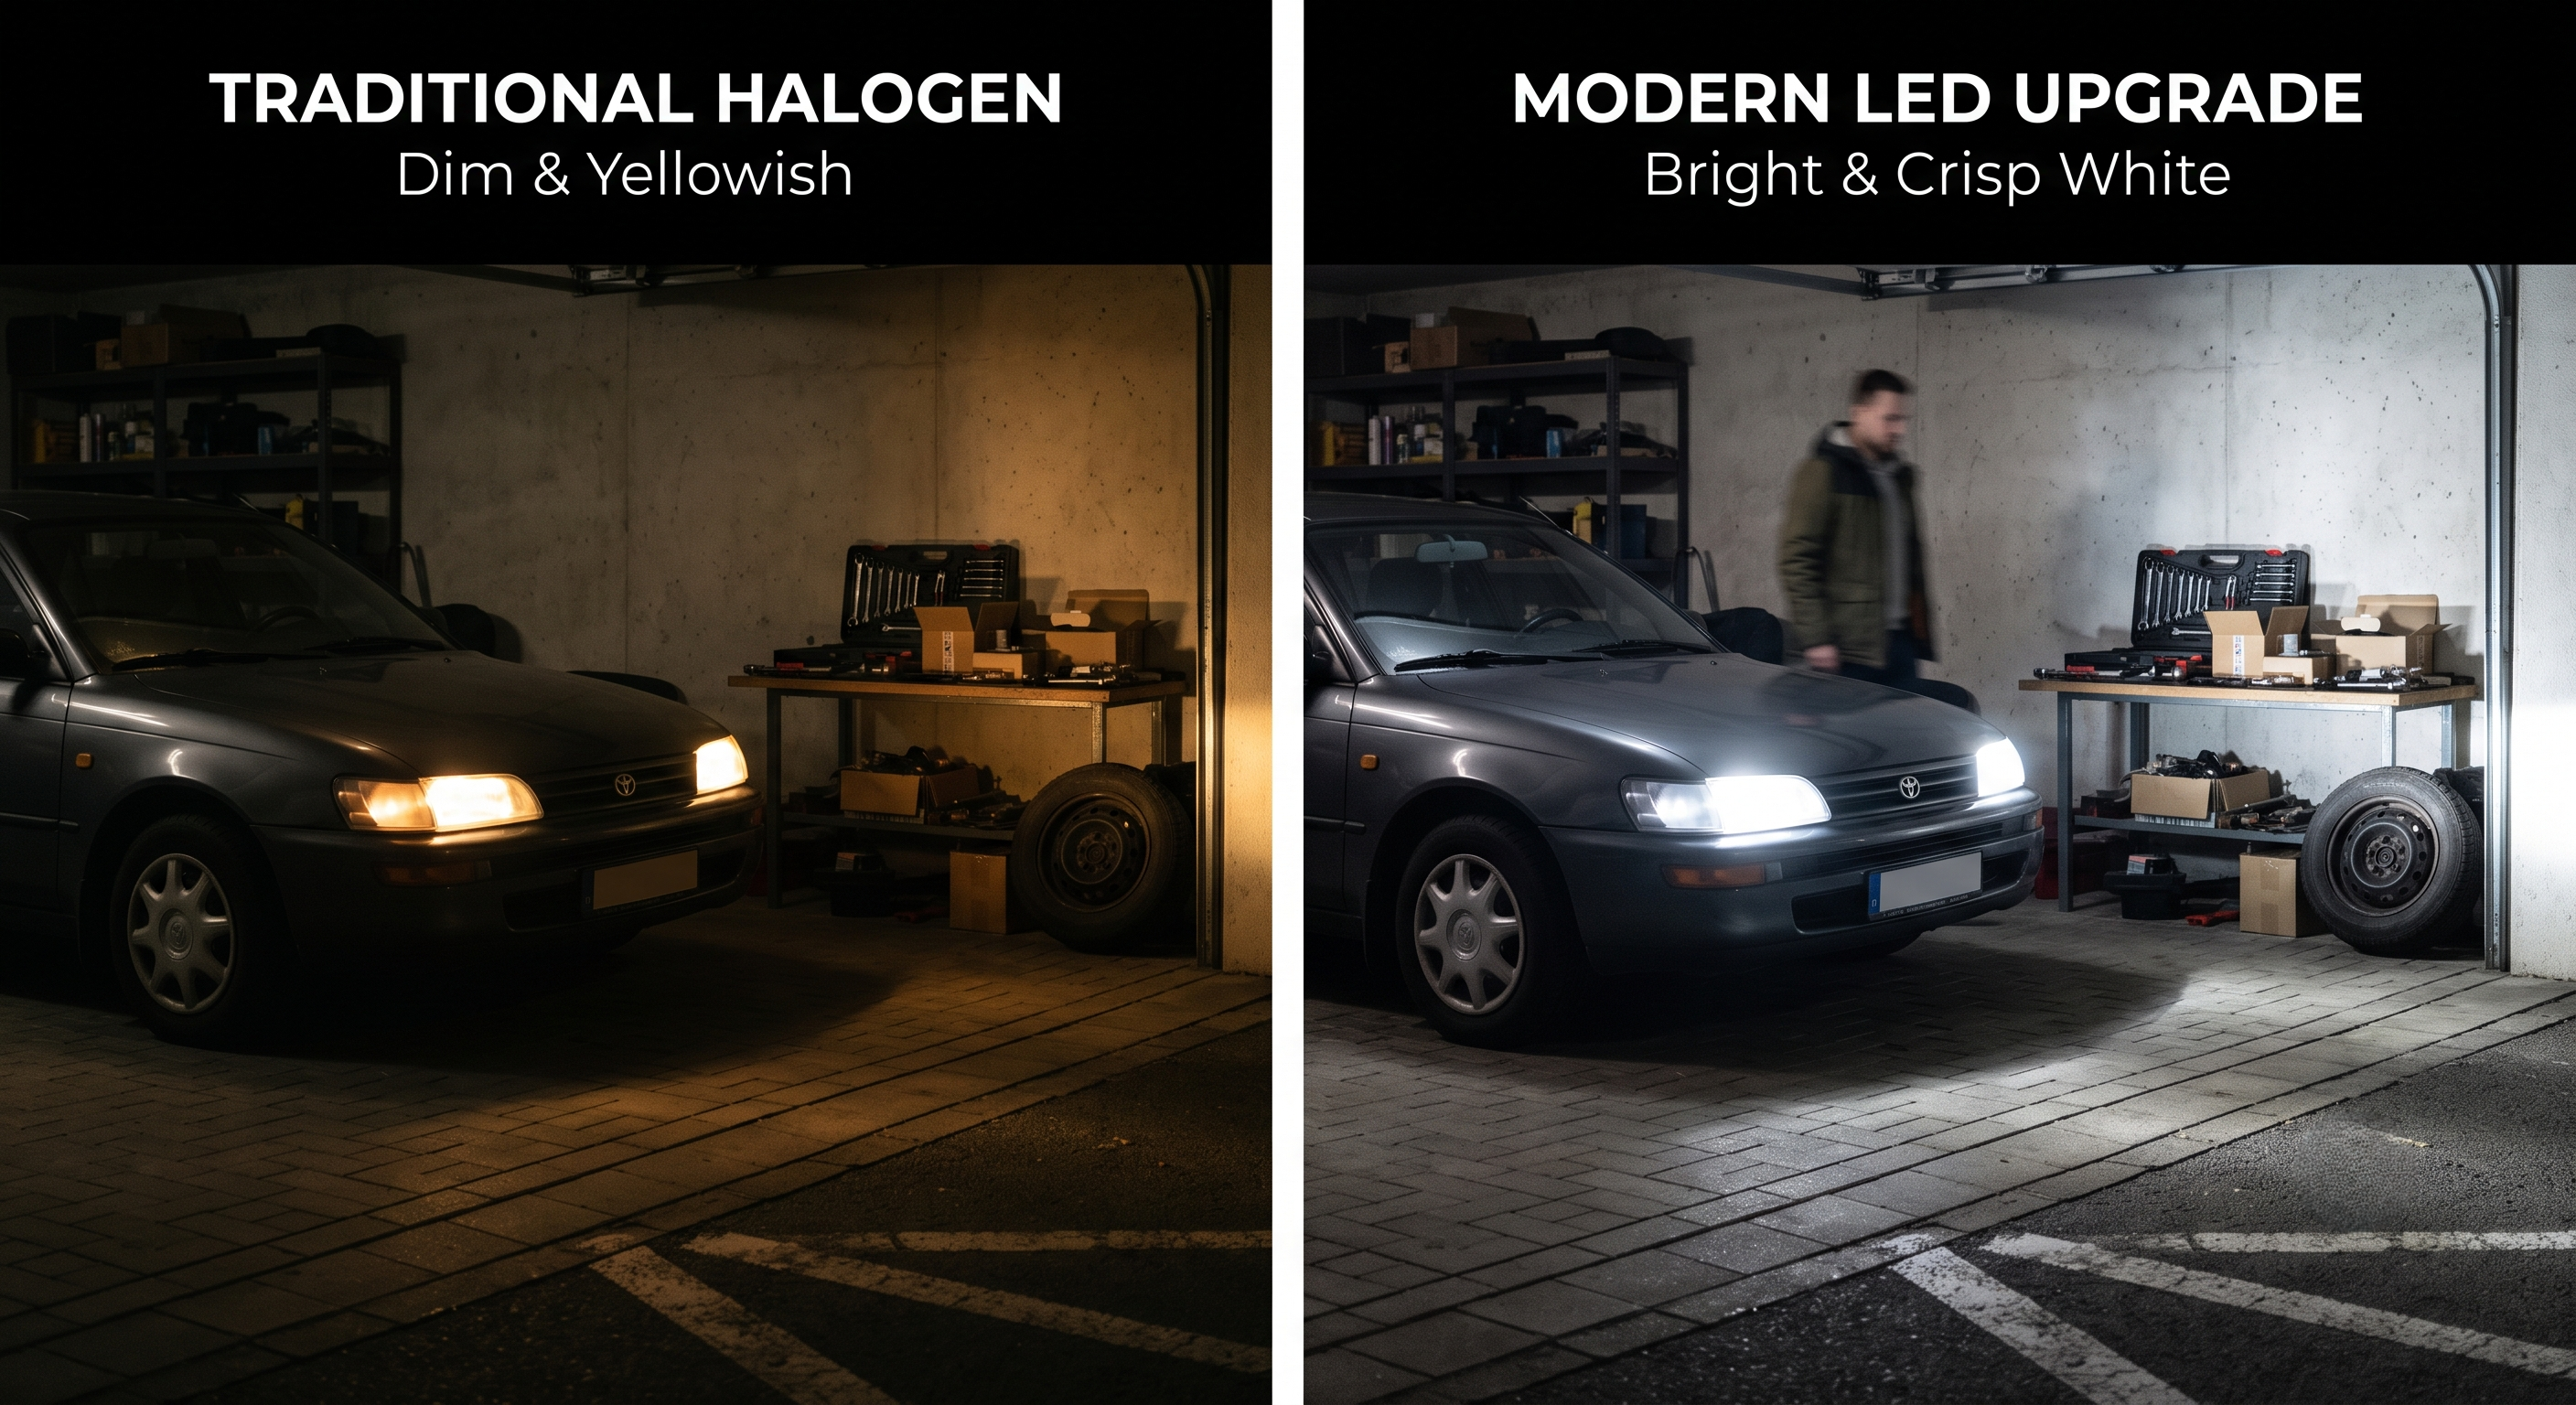

Flickering, Dimming, or Dead?
Top Causes & Basic DIY Troubleshooting for Truck Lights
Driving a commercial truck safely relies heavily on your visibility and your ability to be seen by others. When your headlights, clearance lights, or tail lights start flickering, dimming, or completely fail, it is not just frustrating, it is a major safety hazard and a potential compliance issue.
Fortunately, many common lighting issues can be resolved right in the driveway or at a truck stop without needing a full-service mechanic. Here is a guide to the most common causes of truck light failures and how you can troubleshoot them yourself.
**********************************************************************
1. The Symptoms and Their Common Causes
Before you start tearing into wires, it helps to narrow down the problem based on what the lights are (or aren’t) doing.
-
Flickering Lights: This is almost always a sign of a poor electrical connection. As the truck vibrates down the road, loose wires or a weak ground connection will intermittently break the circuit, causing the strobe effect.
-
Dimming Lights: If your lights look weaker than usual, it usually points to voltage drops. This can be caused by corroded battery terminals, a failing alternator, or simply an aging halogen bulb that is nearing the end of its lifespan.
-
Completely Dead Lights: If a light refuses to turn on at all, the most common culprits are a blown fuse, a burnt-out bulb filament, or a completely severed wire in the harness.
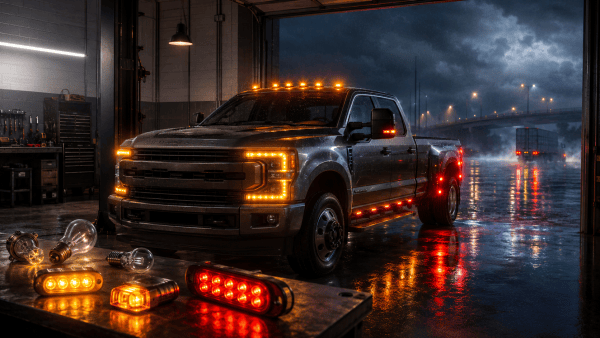
2. DIY Troubleshooting: Step-by-Step
Grab a basic multimeter or a 12V/24V test light, some electrical tape, and a wire brush. Here is how to track down the issue.
Step 1: Check the Bulb and the Socket Start with the easiest fix. Remove the lens cover and inspect the bulb.
-
If it is a traditional halogen or incandescent bulb, check if the filament is broken or if the glass is blackened.
-
If it is an LED, look for moisture buildup inside the housing, which can short out the diodes.
-
Inspect the socket itself. If you see green or white powdery corrosion, clean it out with a wire brush and apply a little dielectric grease before putting a new bulb in.
Step 2: Inspect the Fuses and Relays If the bulb is good but still won’t turn on, head to the fuse box.
-
Locate the specific fuse for the problematic light circuit using your truck’s manual.
-
Pull the fuse and look at the metal strip inside. If it is broken or scorched, replace it with a fuse of the exact same amperage. (Never use a higher-amp fuse, as this can melt your wiring or start a fire).
-
If the new fuse blows immediately, you have a short circuit somewhere in the wiring that needs to be tracked down.
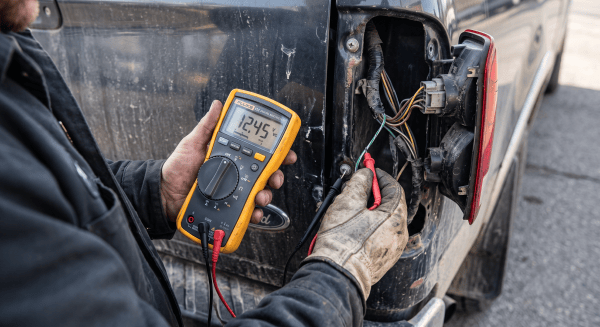
Step 3: The Notorious “Bad Ground” In heavy-duty trucks, a bad ground connection is the #1 cause of bizarre electrical issues, especially flickering or dim lights.
-
The truck’s metal chassis acts as the negative return path for the electricity. Follow the negative wire from your light housing to where it bolts onto the truck’s frame.
-
Over time, road salt, dirt, and rust can weaken this connection. Unbolt the ground wire, sand the metal chassis down to bare, shiny metal, clean the wire ring terminal, and bolt it back tightly.
Step 4: Trace the Wiring Harness If the bulb, fuse, and ground are all solid, you will need to physically inspect the wiring.
-
Start from the light housing and work your way back. Look for pinched wires, sections where the insulation has rubbed off against the frame, or stretched connections.
-
Pay special attention to areas where the wiring harness bends or flexes, such as near the suspension or the trailer connection pigtail.

When is it time to upgrade?
If you find yourself constantly replacing burnt-out incandescent bulbs or dealing with heat-damaged sockets, it might be time to make the switch to LEDs. Modern LED truck lights draw significantly less power, run cooler, and are highly resistant to the heavy vibrations of commercial driving, meaning you spend less time troubleshooting and more time on the road.